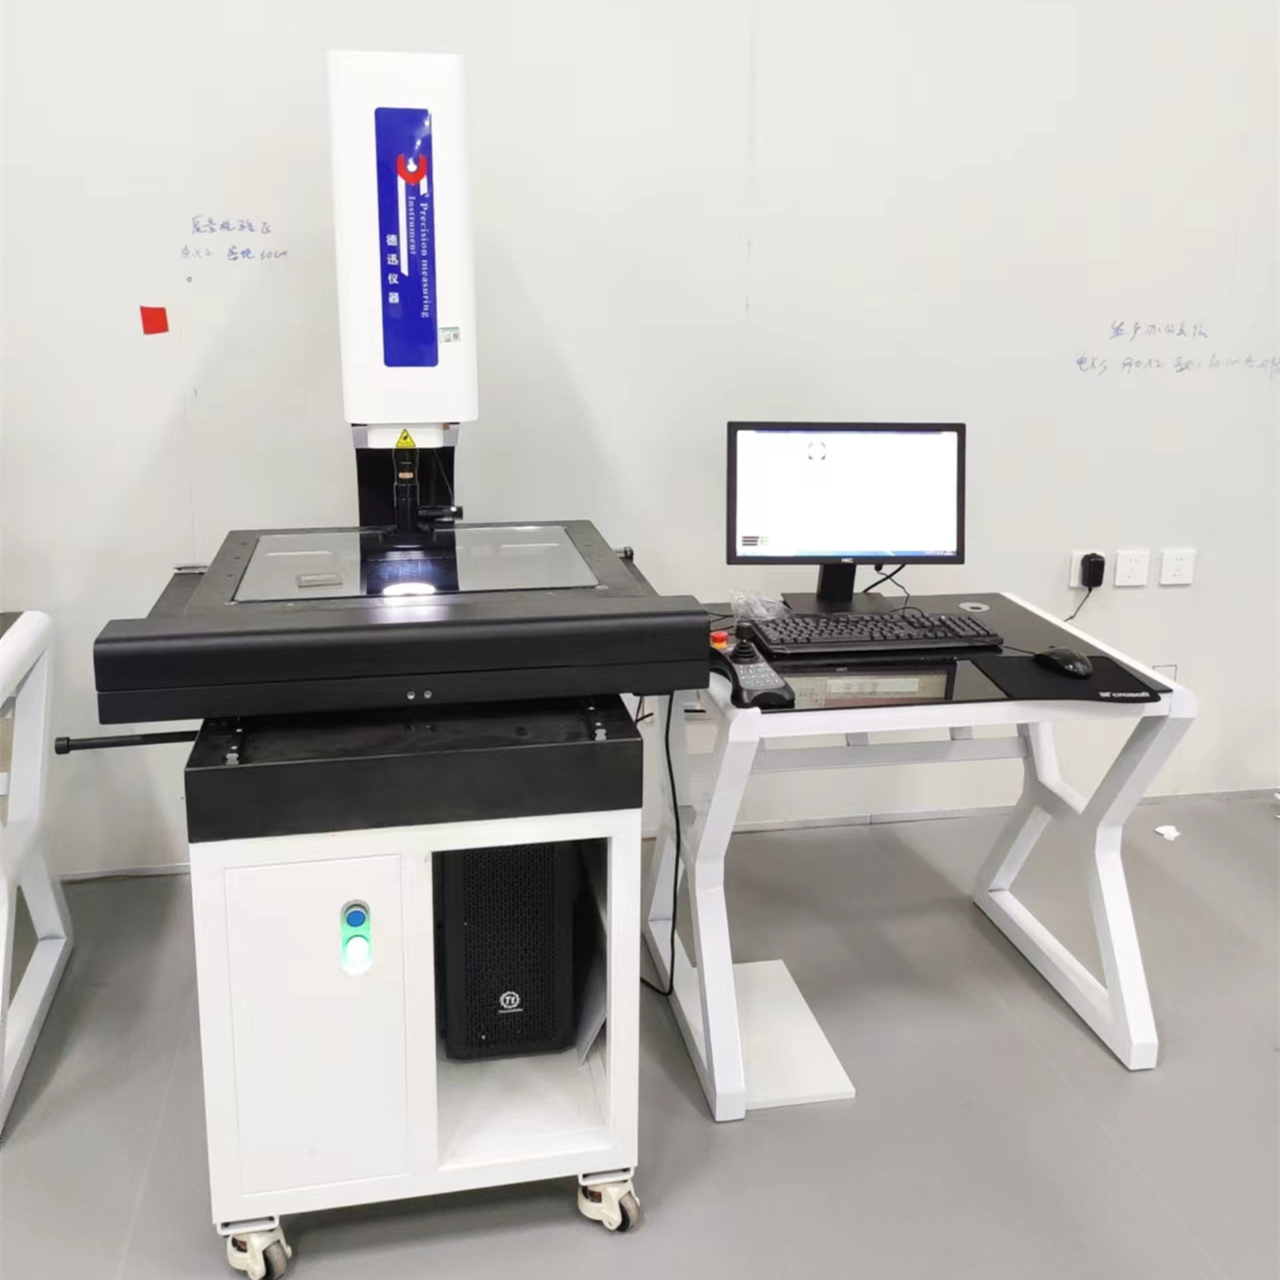
Image measuring instruments must be familiar with the drawings before programming. There are many common tolerance principles in complex measurement drawings, which can be roughly divided into: container requirements, maximum material requirements, minimum material requirements, and reversible requirements.
Including requirements: It is a comprehensive result of the actual size and shape error of the tested element controlled by a portable magnetic particle testing machine with the maximum physical size as the boundary, that is, the external action size does not exceed the maximum physical size.
Maximum material requirement: The dimensional tolerance value is the tolerance value given when the measured element is in the maximum material state, controlled by the actual effect boundary of the maximum material (represented by MV)
The comprehensive results of the size, shape, and position errors of the components, as well as the actual size, shall not exceed the limit size. When the actual contour of the tested unit does not exceed the actual boundary of the largest entity, the shape is allowed
The position error value is greater than the size tolerance value, which allows the size tolerance to compensate for the shape and position tolerance.
The calculation formula for the maximum effective three-dimensional size is as follows:
Axis: V=Dmax+geometric common with M
Hole: DMV=Dmin - Geometric tolerance with M
Minimum physical requirement: Based on product design to achieve the best technical and economic benefits.
The marked geometric tolerance value is the tolerance value given when the measured unit is in the minimum material state. Comprehensive results of controlling the size and geometric error of the measured unit using the minimum entity actual effect boundary (represented by LV)
The actual size shall not exceed the limit size. When the actual contour of the tested unit deviates from the minimum physical size of the salt spray testing machine, the allowable shape and position error value is greater than the marked shape and position tolerance value, that is, the tolerance compensation form and position of the allowable size tolerance are common.
The formula for calculating the minimum effective size of a solid is as follows:
Axis: DLV=Dmin - Geometric tolerance with M
Hole: LV=Dmax+geometric tolerance M
Applying the reversible requirement to the maximum and minimum physical requirements: controlling the comprehensive results of the measured unit size, shape, and position errors using actual physical dimensions.
When the contour of the measured feature does not exceed the maximum physical effect boundary, the dimensional tolerance of the measured feature is allowed to compensate for its geometric tolerance value. At the same time, when the measured geometric tolerance value is less than the mark
Value, the actual size is allowed to exceed its physical size.
Optical detection is the use of optical lenses to extend the image of an object and accurately evaluate its characteristics. Optical measurement is an important aspect of quality control in the production and manufacturing process. It includes rapid and subjective detection through operator observation, as well as automatic quantitative detection through measuring instruments. Optical measurement can be carried out offline, that is, the workpiece is removed from the production line and sent to the testing platform for measurement; It can also be done online, meaning that the workpiece does not need to leave the production line; In addition, the workpiece can also be tested next to the production line and can be quickly returned to the production line after completion.
All these optical measuring instruments magnify images in a way similar to a camera. The fixed magnification of the single lens magnifying glass in the gantry image
Measuring Instrument limits its application range. For example, it is difficult to detect important workpiece details that require further expansion. If the measurement system can increase the magnification, its application range will be expanded. To achieve this, there are usually three methods - lens change, lens turntable, and zoom lens.
Another solution that meets the requirements of amplification conversion is to use a zoom lens, which is a commonly used method in video measurement systems. By using a zoom lens, the operator can view a field of view at low magnification, and then pull the lens closer when needed to view details, saving the trouble of changing the lens and rotating the lens turntable.
These measurement systems all have the same requirements for optical performance, as optical performance can affect system efficiency and image quality. In order to achieve the best detection results, the optical systems in these devices need to provide a large workspace, not distort, and be able to produce clear high contrast images.


