Image
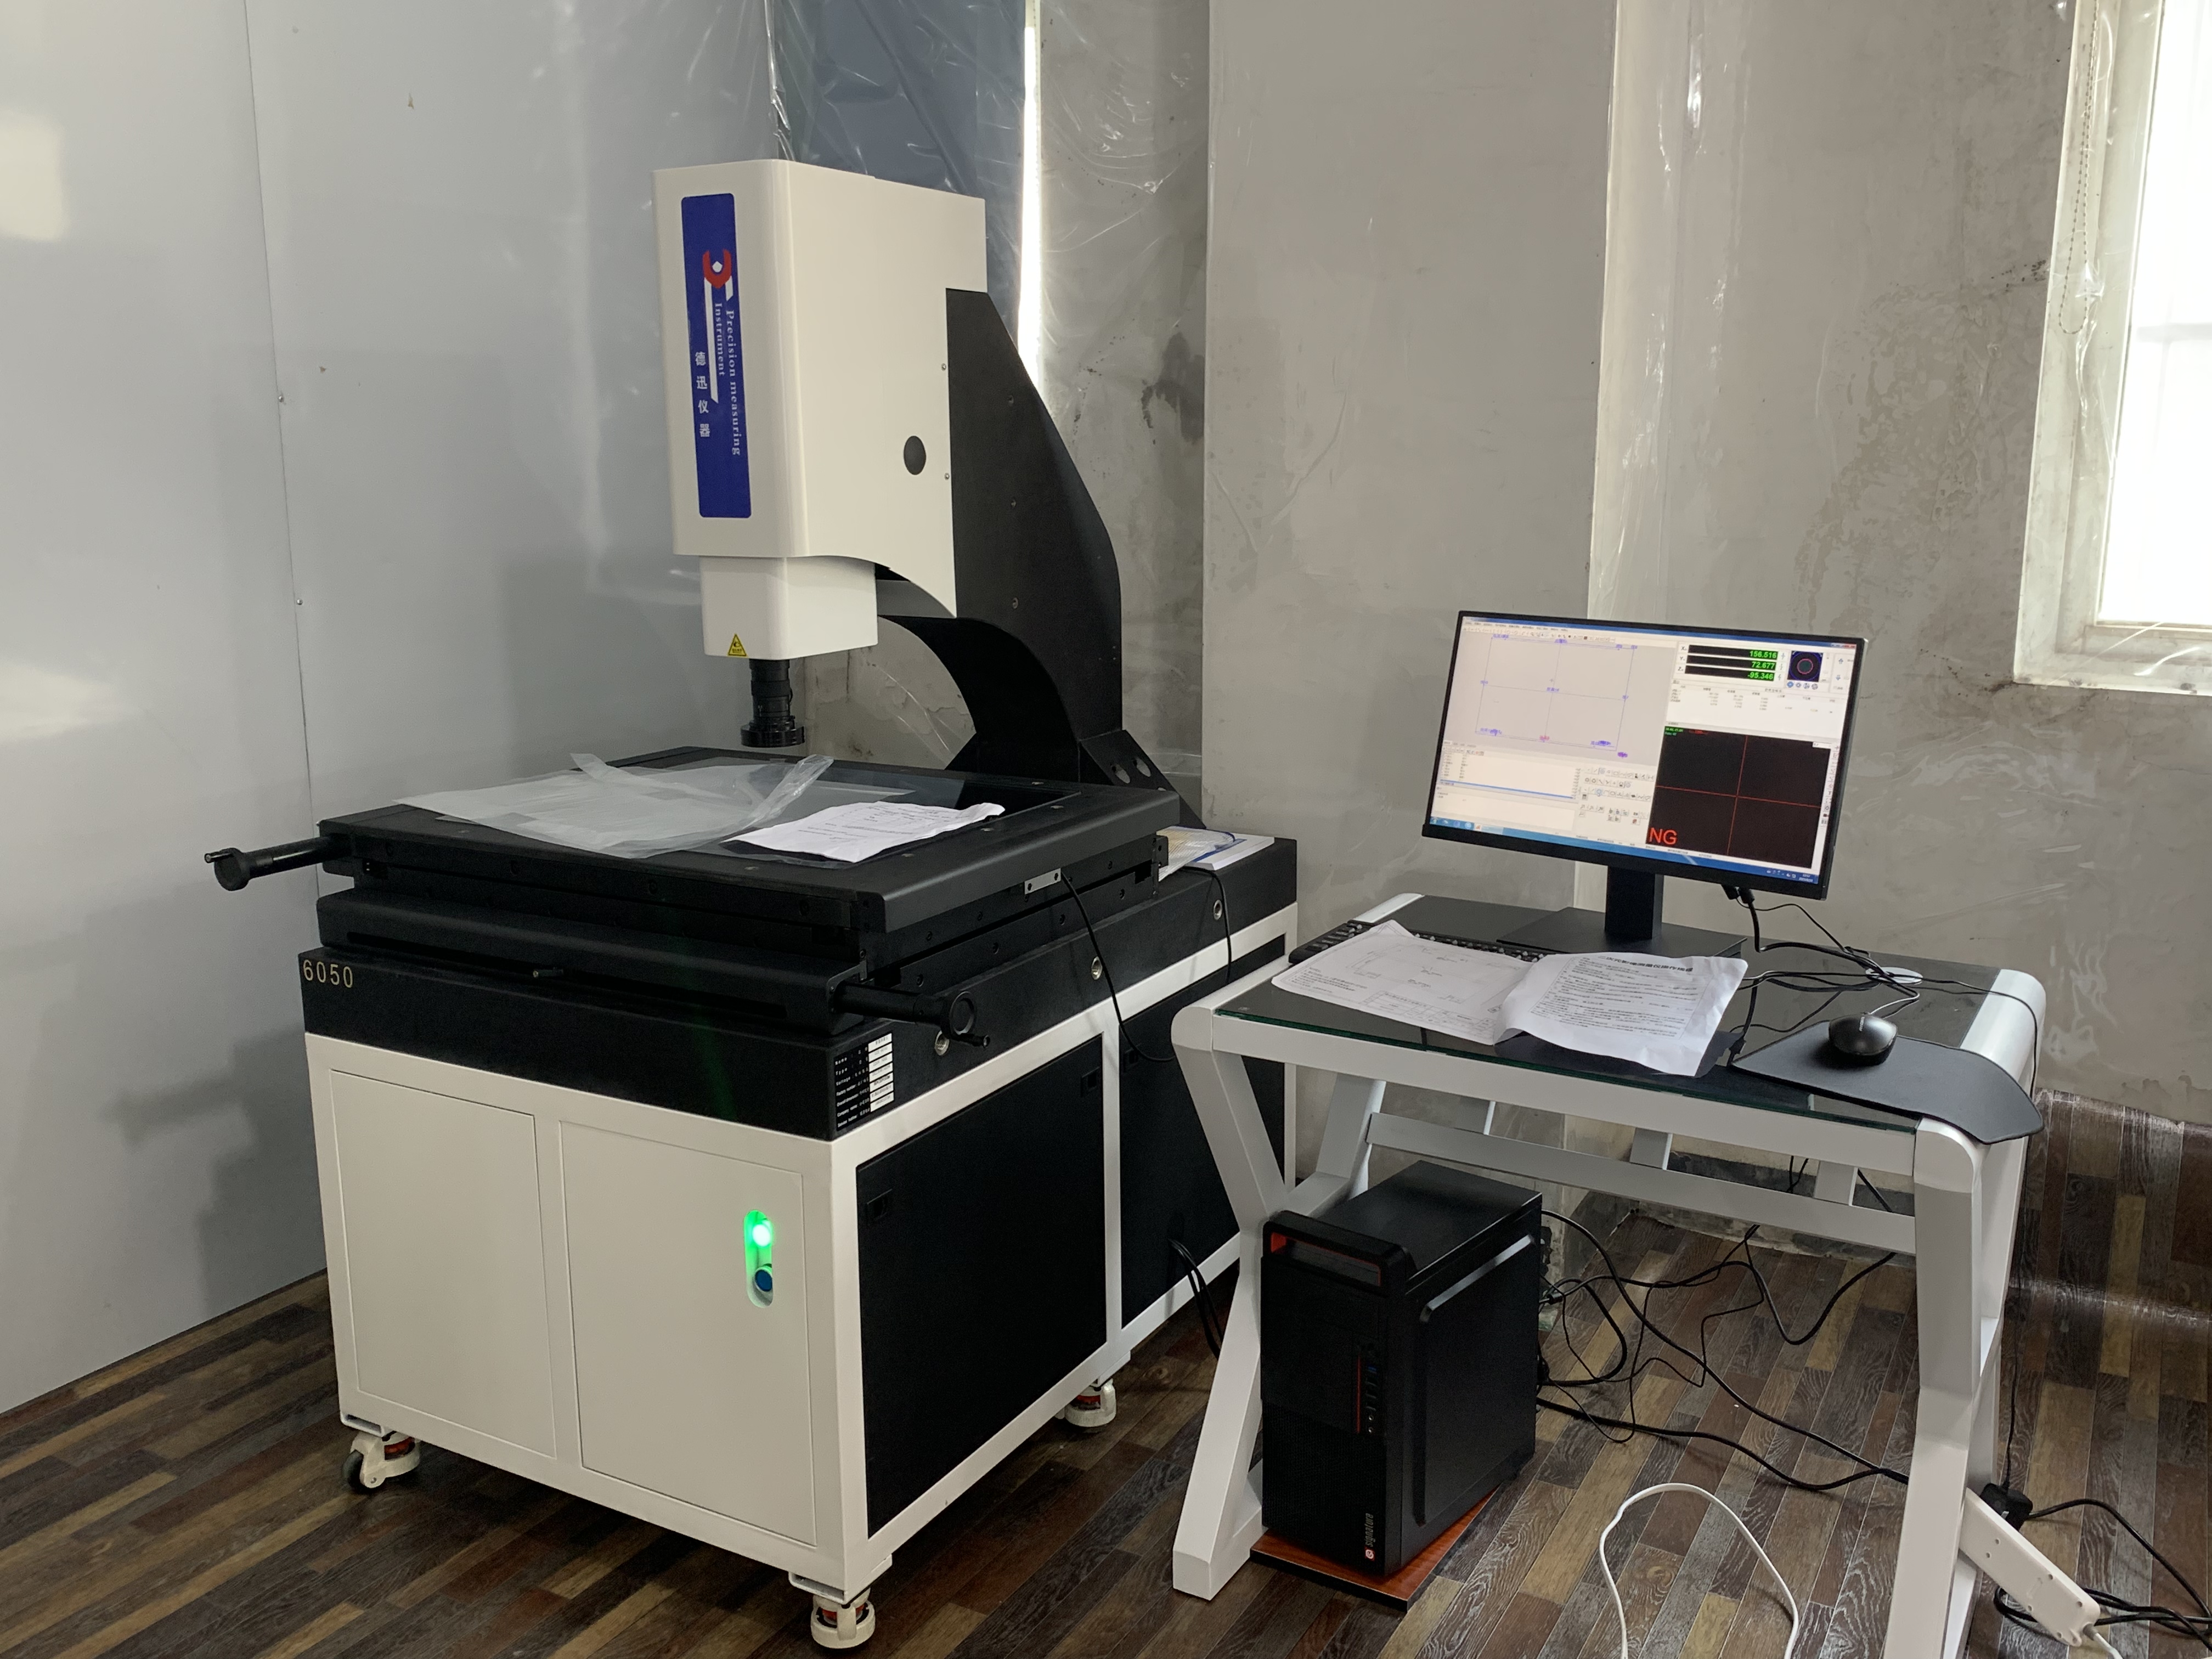
Measuring Instrument is a new type of high-precision and high-tech measuring instrument that integrates optical, mechanical, electrical, and computer imaging technology. It is widely used in fields such as molds, screws, metals, accessories, rubber, PCB boards, springs, hardware, electronics, plastics, etc. The following is an introduction to the causes of common malfunctions in image measuring instruments.
Analysis of common faults in imaging measuring instruments produced by imaging equipment manufacturers:
1. Lifting transmission failure. Common issues include abnormal noise during lifting and lowering, inability to rise, falling sensation during lowering and lowering, bouncing, large backlash during transmission, fine adjustment without transmission, and loose projection frame.
2. Disadvantages of the workbench. Generally speaking, the light rod is idling, the transmission of the light rod is bouncing, the friction transmission is not smooth, there is noise in the movement of the workbench, and there is stagnation in the movement of the workbench. When dealing with faults, it is necessary to identify the cause of the fault and provide targeted treatment. Adjustable methods such as tightening spring screws, replacing bearings, using new oil, lubricating oil, replacing polished rods, cooking, or replacing polished rod brackets.
3. Disadvantages of projection screens. When there is sound during rotation, impurities (rust, etc.) on the end face can be cleaned and bearings can be replaced. When rotating, the friction force is high, and the screw can be loosened or the friction rotation can be replaced. When the rotation is uneven, a new dial seat, friction wheel, friction wheel shaft, etc. can be replaced. The projection screen rotates without timing, and can tighten the viewpoint friction mechanism, weld signal lines, connect plugins, and so on.
4. Disadvantages of projection imaging. The imaging is blurry, the image has dark areas, the image has black spots, and the contrast light is dim. It can be used to clean the objective lens, projection screen, workbench glass, condenser, reflector, etc. Adjust or replace the filament. If the power voltage of the bulb is too low, install a main power stabilizer.
5. Disadvantages of image imaging. When the black screen is displayed, you can check whether the power cord is connected, the power voltage, etc., and insert the signal cord of the monitor. If the parts are damaged, you need to replace the monitor and crosshair manufacturer. When the objective lens is doubled and the cross hairs and marking points deviate significantly, lock the cylinder screws again or replace the cylinder. When there is a shadow on one side of the measurement work, the screws at the four corners of the camera or glass can be adjusted to correct the workpiece.
6. Electrical fault. The common drawbacks are that the light bulb is not bright, the axial fan does not roll, the light bulb is easy to burn, the fuse is easy to burn, the transformer is overheated, damaged, and so on.
7. Electronic malfunction. If the button on the electrical box malfunctions, the system is clear, and there are countless shafts that can be replaced with masks. You can replace the sliding seat or OP board or the entire size, connect the signal wire from scratch, replace the motherboard, and so on. If the digital tube lacks strokes, it needs to be replaced or repaired.
8. Accuracy issues. This includes incorrect accuracy of the a.x.y axis, poor coordinate measurement accuracy, significant differences in viewpoint display values, and significant differences in plane measurement. To address this drawback, attention should be paid to correction and adjustment.
The above content is an introduction to the analysis of common faults in image measuring instruments. If you want to reduce the faults of image measuring instruments, you must pay attention to equipment maintenance in daily life. The storage environment of the instrument is very important and must be placed in a clean and dry room to avoid mold on the surface of optical parts, rust on metal parts, dust and garbage peeling, etc.The surface of the instrument should be kept clean, not touched by hand, and should be cleaned regularly.


